Today I will be sharing with you the fun I have when putting my Tags together. First I am using several of the fun papers, images, and elements you get in the My Besties
"In the Garden" CD. I am not Tech savvy but I will share with you what I use the My Besties CD's on. I have an HP, Windows 10 computer and when playing with the CD's to print the images I want to use for my design I use Microsoft Word. I don't want to get off subject but the
Sherri Baldy/My Besties CD's are well worth the money and more. Sherri literally gives us 100's of digital images in jpg and png to color, cut, make into 3D projects in these CD's you get a fun array of design papers, images, card toppers, elements to go with each featured style My Besties image on the CD. I try to buy one here and there when Sherri gives us her fabulous 50 % and sometimes 55% off sales. I have four of the
My Besties CD's in my Collection
and am hoping to buy the
Ella Bella Buttons on the next sale. Ella Bella is the cutest I love the elements that come with her when you purchase her in the
Ella Bella 3D Decoupage kit. You can check the the different CD's all out
HERE in the
My Besties Shop.
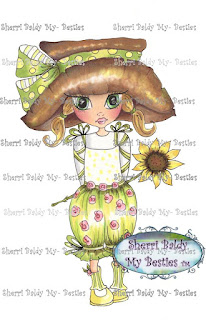
Here are a few pictures of the fabulous images you get in this
In the Garden CD.
 |
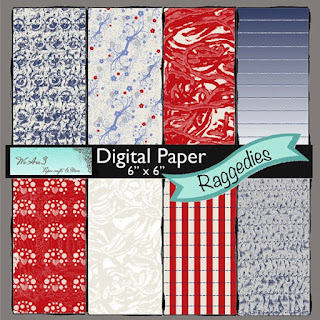
| Design Papers |
 |
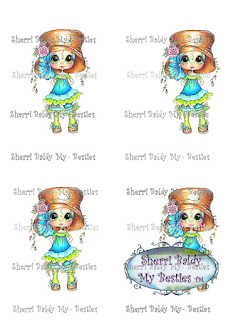
| Digital images to color |

There are several pre-colored images and card toppers you get
In the Garden CD. I chose to use this adorable My Bestie pre-colored image to feature her as I made her into a 3D tag project.
Here is a picture of the beginning stages of starting my #8 size manila 6 1/2 x 3 1/4 Tag. I cut my design paper chosen from the CD to fit the tag. Once I glued down my design paper I did an inking process on my
Embossing Folder by rubbing my pink ink pad on one side of the folder
that gave the pretty pink flower impression lines on my paper giving the paper a distressed and
different look. I also used the same design paper for my heart diecut design doing the same distressed inking
process but did not put as much ink because I wanted the heart diecut
design to pop as I double layered it on my tag
.
Here are some My Besties
Spring 2 Elements Pack 2. tickets embellishments from one of the
My Besties Printable Paper Elements line that are available for embellishing your projects. I love them and use them alot. Since these are in the Printable/Digital line you can alter the size as you need. I did make them just a little bit bigger. And I love that you can tweak them by adding a little color with your markers or color pencils. In this case, I coordinated the tickets with the pinks and yellow on my tag. My "be joyful" sentiment I stamped on. As you see on the picture below you get so many fabulous elements to use for your projects. My favorite are the beautifully distressed and floral Postcards. You will have to add this
Spring 2 Elements Pack 2 to your wish list it is very useful. There are tags, sentiments and more in the particular My Besties -
Spring 2 Elements Pack 2.


Here is a close up look and the elements added to my tag. The little sunflower is also an element you get as embellishments for your projects in this
In the Garden CD. I love taking advantage of my leftover design paper when they have flowers I cut them cut and use them for future My Besties projects like I did on this one. The adorable Ladybug is in the Little Sweeties CD as one of the many fun elements which I also tweaked and added some yellow to the flower to coordinate with my tag.
I would like to enter my tag into the following challenges:
I hope you enjoyed your visit...until next time.
Happy crafting...health...joy and happiness to you and yours.


